






It's still Thursday somewhere right?

In my mad rush to head out of town to a Lacrosse tournament, I was barely able to get my pictures uploaded to post for this month's summer project! I even forgot to upload my original wood cuts for a full tutorial. Sorry!
OK...to get to the point of my project...I love summer! I love love love being out in my yard in the heat but most of all I love gardening! There is honestly nothing more I enjoy then digging in the dirt. So my daughter and I made some quick and easy garden stakes made from a fence board.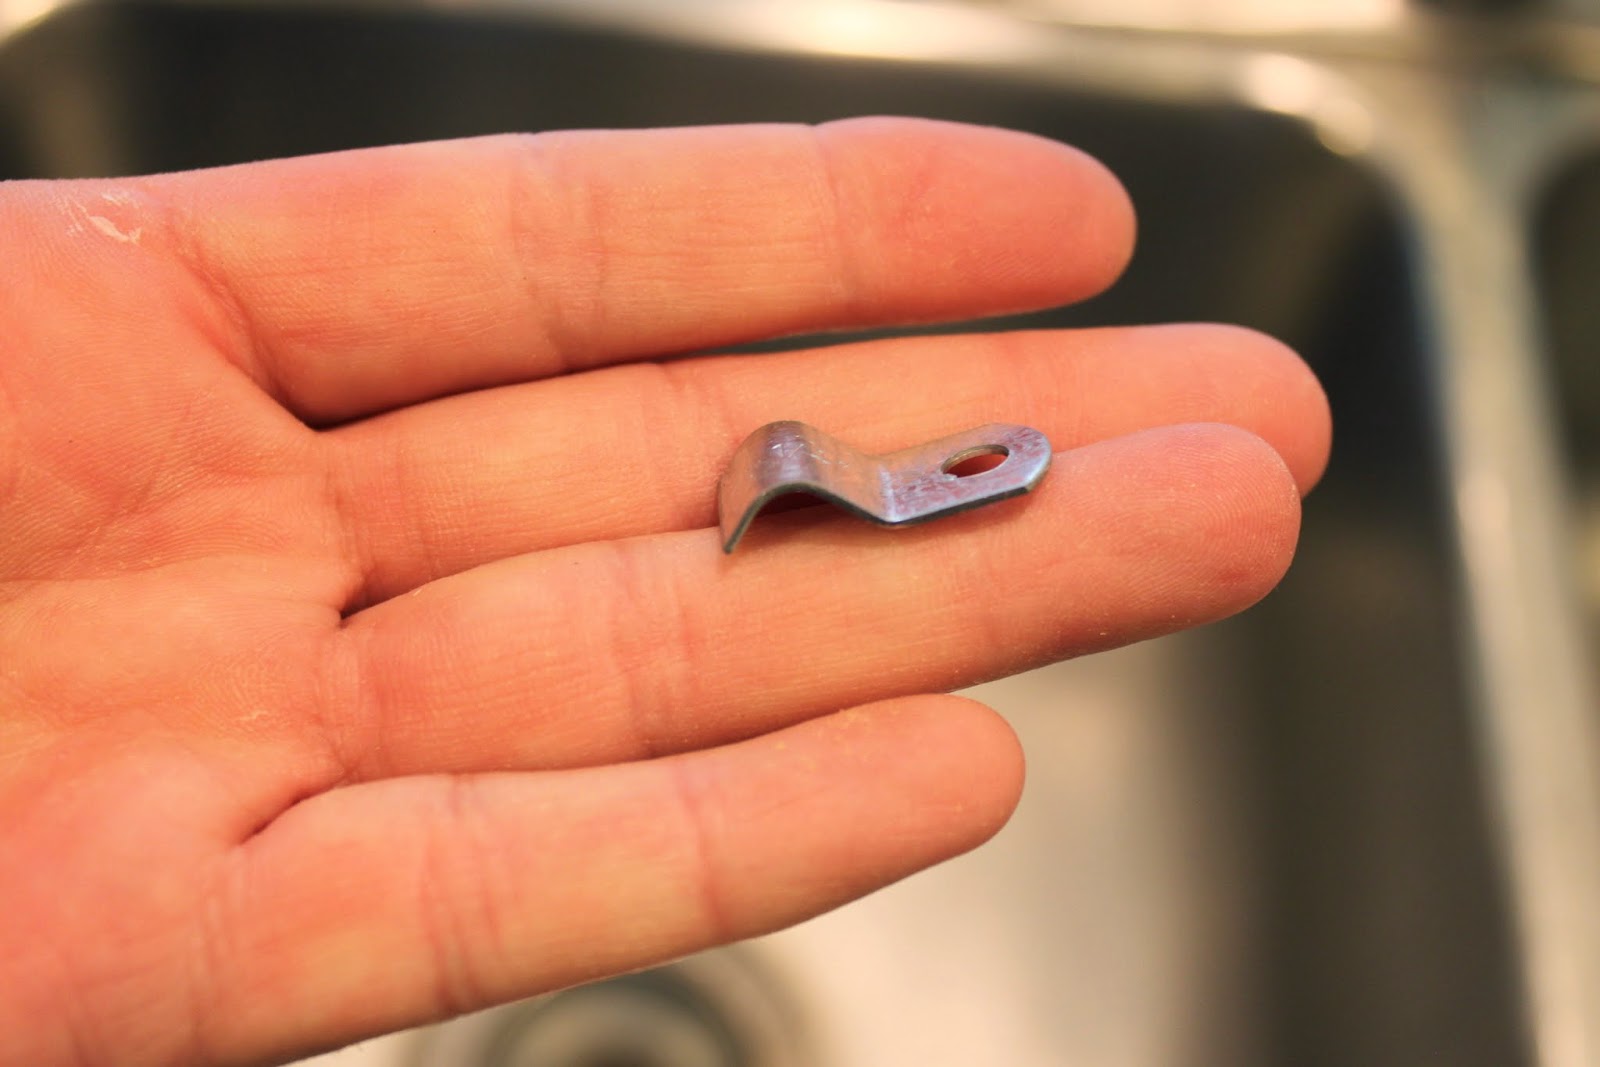 We cut our cat heads into various squares and rectangles about 8 and 9" high, did a few rough cuts to add some ears and sanded down the rough edges. For the noses we used left over pieces of wood lathe which was the purrrrrfect width.....sorry I couldn't resist that one!
We cut our cat heads into various squares and rectangles about 8 and 9" high, did a few rough cuts to add some ears and sanded down the rough edges. For the noses we used left over pieces of wood lathe which was the purrrrrfect width.....sorry I couldn't resist that one!
I found these cool little screw on caps in the electrical department that I used to hold my stake in place. I used my miter saw to cut different lengths of metal stake that was 1/4" in size. Watch out when you do this cuz sparks will fly!
We used acrylic craft paint to customize replicas of our own kitties, nailed on the noses, sanded off the edges for a little pop and then sealed with a couple of coats of polyurethane to protect them from the elements.
Super easy and a fun project you can do easily in an hour with your kids!
I see some more to be made in our future.....ducks....squirrels.....options unlimited!
Happy Summer from Crafty Sisters!!
Phoebe, Fluffy, Callie & Morris. Four very spoiled kitties!


