Thursday, May 10, 2012

Yummy Bling from Craft Goodies!!!

Hi everyone!
 It's Wendy from Craft Goodies here today to wrap up the Summer Bling projects.

My first thought when you mention summer is "HOT" and since we've already hit the 80 + degree mark here in Texas I was drawn to cool comfort, in other words ICE CREAM!


I actually put this together while I was in Utah hanging with my sisters so there aren't any "how-to" pictures...but I can tell you what I did!
I started by drawing my ice cream cone out onto poster board. Then I cut it into separate pieces, the cone, the ice cream, the topping, and the cherry. Everything was traced and cut out of 1/2 inch MDF except the topping  and that was done in 1/4 inch MDF.
From there I painted base coats and then sanded down all the edges.
I used two small pieces of slat wood glued to the back to re-connect the cone and ice cream, stapled on a ribbon loop for a  hanger, and then flipped it over and added the details with puff paint and GLITTER!
Next, glue the choco topping piece into place, add a tulle whip topping poof and the top it with the cherry.
Done!
{Okay, almost done, give the entire piece a good coat of sealer to keep the glitter in place.}


Look! It's mint chocolate chip-
Happy Summer!


Wednesday, May 9, 2012

Garden Bird Stakes ~ Crafty Sisters

Hi again! 
We are excited that Melinda picked the theme of summer bling!
There's nothing like a little shimmer in the garden.
We found the cutest bird stakes on Pinterest from Foreside Home and Garden,
and thought they would be fun to recreate with wood.
We used pine scraps and bamboo stakes, so they were very inexpensive to make.
To give the birds some bling,
we used metallic paint and green rhinestones for the eyes.
Nicole cut the bird shapes out of pine on her scroll saw.  
To add texture, we used puffy paint to create scroll embellishments on the bird.
After the puffy paint dried, we gave the birds a couple coats of metallic paint. 
We used a tiny amount of brown paint to accent the puffy paint. 
To protect the paint from water, we sealed the birds with several coats of polyurethane. For the legs, we cut garden bamboo stakes and glued them into drilled holes.

We just love them, they are so fun and whimsical in the garden!
Thanks Melinda for the great summer bling theme!

Tuesday, May 8, 2012

Glittered Watermelon by Sassy Sanctaury

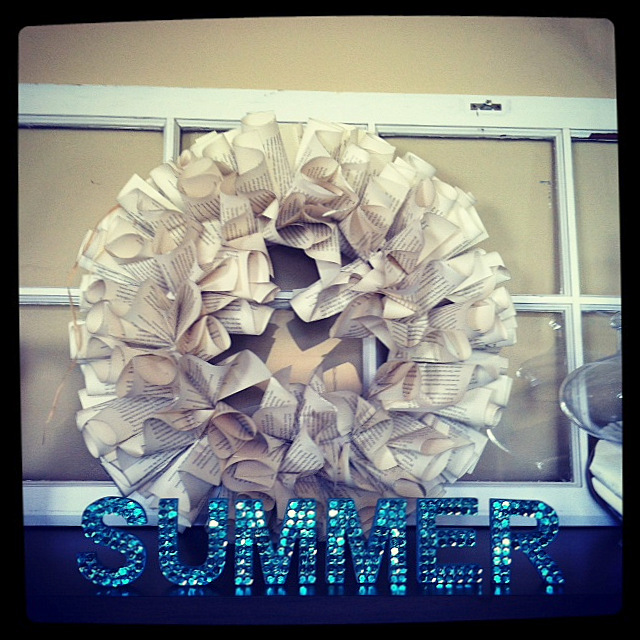
Hello everyone!  Krystal from Sassy Sanctuary here again today!  I'm so excited about this months theme.  Melinda's bedazzled "summer" is beyond wonderful don't ya think!?  I'm definitely going to have to break out some sequins on some future project!

When I was told our theme for this month was "summer bling" the first thing I though of was a watermelon.  Don't watermelons just scream summer?!  I know I'm not the first person to ever make a wooden watermelon, but it was still fun putting my sparkly spin on it!

So are you ready to see?


It was a ton of fun to make and looks so cute mixed into my little summer display!


I wish pictures did the sparkle justice.  It really does just glimmer in the light.  It's wonderful!

Its hard to say what my favorite part is... it was so much fun adding the glitter to the scrapbook paper patterns, but the black rhinestone "seeds" I found are pretty fun too!


Anyway, if you want to make your own, here is the method to my madness.  :)


A-  I made my cuts using my scroll saw.  You want to use a piece of wood that is thick enough that it can stand up by itself.  I just used scraps I had laying around and actually have two pieces glued together to get it thick enough.  I just free handed a pattern on some paper before transferring it to the wood.  I used a thinner piece of wood to make the slightly smaller "fruit" piece. 

B- The fabulous black rhinestones I found in the scrapbook section at Micheal's.  They actually were part of a scrapbook boarder embellishment, and I just picked the black ones off. 

C-  Once you have you supplies, you can paint.  Since I was adding scrapbook paper to the fronts, I only painted the edges.

D- But I did paint the back of the big piece just so it would look okay from the backside.

E-  Then you add your paper!  I found a fun red polka-dot for the center, and a great green strip for the outside.  I used modge-podge to adhere it to the wood.

F-  Once its completely dry, then you can add the glitter!!!  I used the backside of a paint brush to make dots with modge-podge and added the glitter.  Work in small sections so that your glue doesn't dry.  I also painted on the stripes with a fine paintbrush.  My kids were fascinated with the glittering process!

A tip for glittering, once its dry give your glittered piece a light coat of finish spray.  It really helps seal the glitter in.  Just be sure to use really light coats so the glitter doesn't get dull.

Once everything is dry, then you can hot glue your pieces together and hot glue on the seeds.

Now just stand back and enjoy the glimmer!


Can't wait to see what everyone else has come up with!

Thanks for reading!


Monday, May 7, 2012

Summer Bling by Under My Umbrella

Hello! It's Melinda from over at Under My Umbrella.  I've been counting down the days to summer for a few months now.   I think it's close enough that it's acceptable to work on some summer projects.  The theme for May is "Summer Bling".  The word "bling" means anything that has sparkle or shine.  SUMMER + SPARKLE = HAPPINESS!  I've been working on a few projects with sequins and have decided to share this one with you today....


This project is pretty easy to do and also cheap.  The possibilities with sequins are endless!


Using a scroll saw I cut my letters out of 1/2 MDF.   I have a tons hanging around so I just used scraps.  Here is my pattern:


I painted my letters with Tahiti Blue.  Its the color of water I like to swim in :)  Let dry and then glue your sequins on.  I used Aleene's Jewel-It Embellishing Glue just because I had it on hand.  Actually it is for gluing  sequins/jewels on fabric but I found it works on wood also.  You can use anything that drys clear.   I found the sequins at Joann's for 80 cents.


That's it!  You're done and you have a project that reminds me of a tropical island.


Stay tuned for other great "Summer bling" projects this week!  I can't wait to see what you all have been crafting up.