Thursday, August 16, 2012

Under My Umbrella: Jute Growth Chart

Hey all!  It's Melinda from over at Under My Umbrella.  I'm excited for this month's theme of growth charts because it's been on my "to do" list for way too long.  My mother-in-law has this fantastic wall in her house where not only has she charted the growth of her kids but also all the grand kids.  She has told everyone when she moves she is taking that part of the wall with her.  I wanted my growth chart to have the possibility of not only personalizing it but to be able to move it and not have to take off half the wall :)  I love the ruler look of all the growth charts out there and started to do that when I realized I needed to change it up a bit (as I'm typing this I just heard a bang and then a little yell "I'm cleaning it up").  This is what I came up with...


There are a few things I would change up about this project if I did it again such as my board would be longer and a different type of wood but overall I like it!  Here are the how to's:  I painted my board an off white color.  After it dried I sanded the surface and edges.  When I started this project I was going to use vinyl for the side measurements and decided against it but it came in handy as a paper ruler.  I grabbed a roll of Jute and a glue gun and got to work.


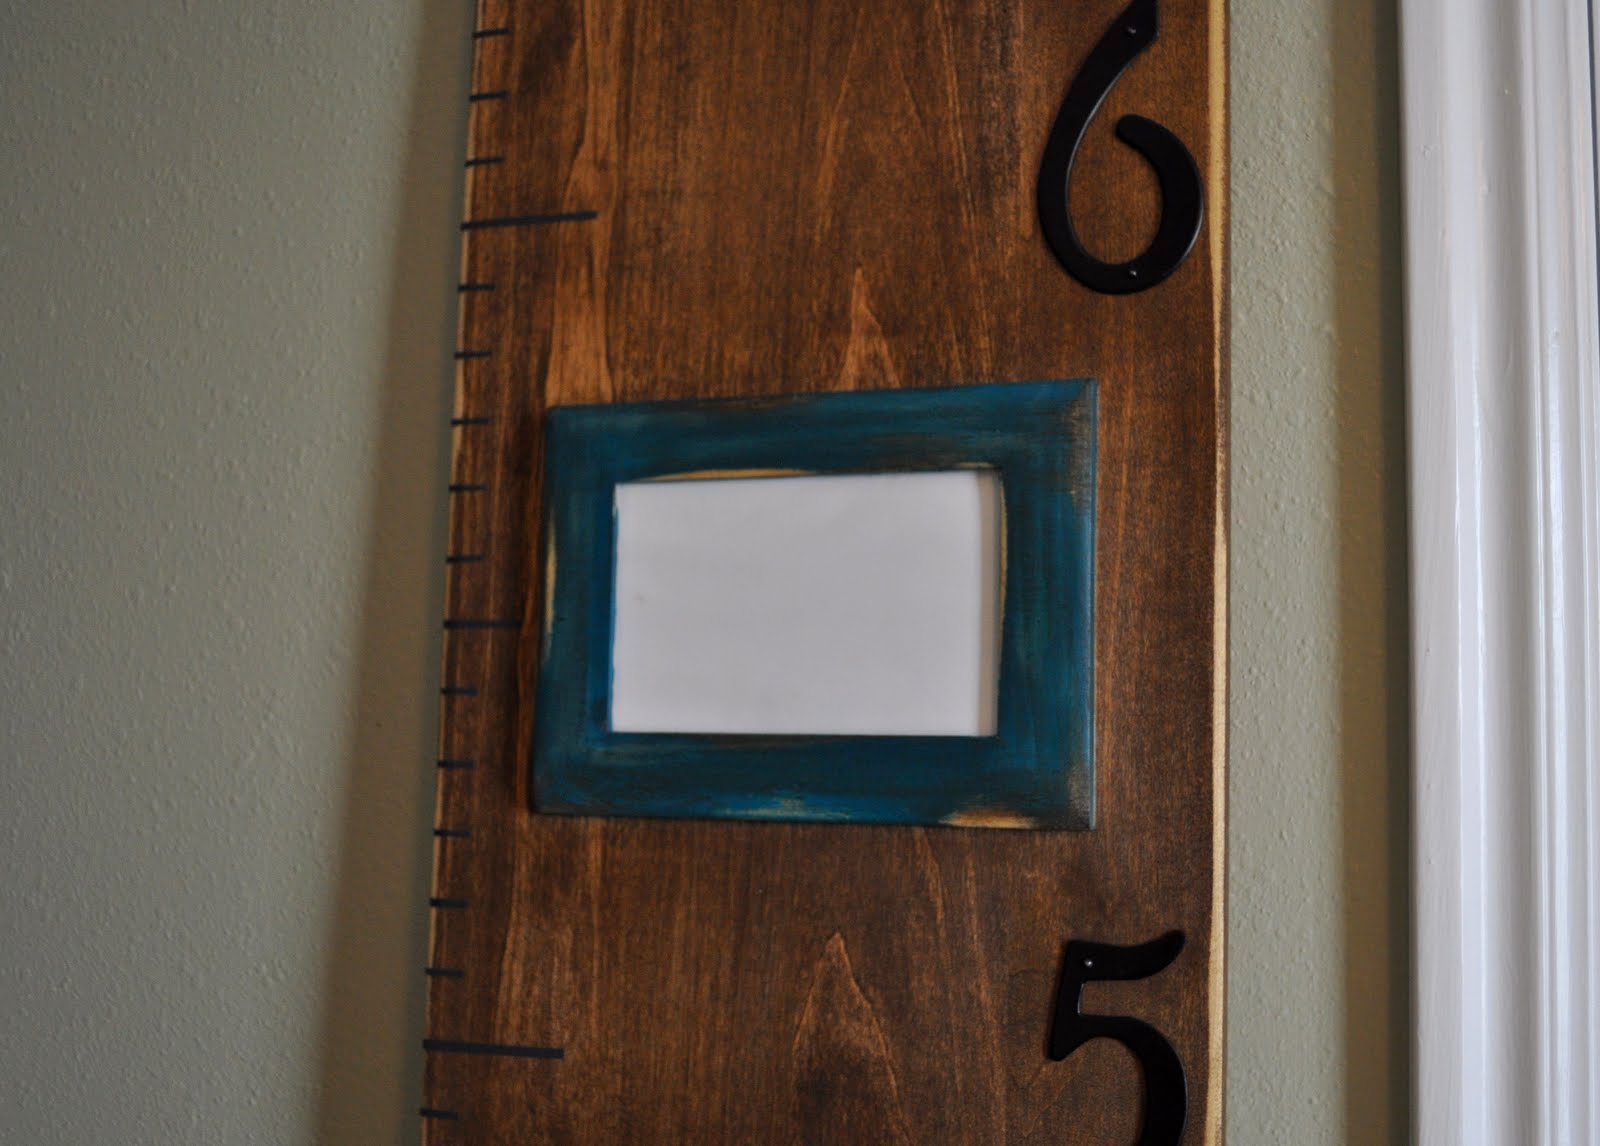
I put a dab of glue on both edges of the board and wrapped the jute around the board using my paper ruler as a guide.  When I came to the 12 inch mark I wrapped it around 5x (keep using the hot glue so the jute stays in place).  Slide the paper ruler up as you work.   I cut out some numbers using 1/4 MDF.  I used the font PHARMACY.


I hot glued my numbers on and added my personalized tags.  You're done!  I think I could put this anywhere in my house and it would fit in.  It's also a fun conversation piece.


Thanks ladies for letting me craft along with you!  It's always fun to see the creative take each person puts on a project.   Make it a great day!!!


Wednesday, August 15, 2012

Picture Frame Growth Chart- by Sassy Sanctuary

Hey everyone!  Krystal from Sassy Sanctuary here today.  I'm so excited about this months theme!  With a  new baby on the way a growth chart was the perfect way to get started on my nursery design.  The babies room is in the very preliminary stages... I have to move my older son out first, which means we have to finish a room downstairs.  So yeah, VERY preliminary stage!

I know I am doing a woodland theme in there and I'm keeping the current wall color.  The only thing I have bought for the room is this adorable owl clock.


Isn't he cute!?  I have also order a sample of this cute fabric to use somewhere in the bedding...


I love it and can't wait to see it in person!  It's called "Wonderland in Blue" from the Fox Hollow line by Monaluna.  The whole line is adorable!

Anyway... you can kinda see where I'm going in there and my idea for his growth chart was something rustic that could also display pictures.  Here is what I came up with.


Obviously it will hang on the wall and the white squares will be filled with pictures.  I'm thinking I will start out by filling it with baby pictures and then updating them as he grows so that eventually the pictures will show the progression of his growth.  Fun!


The markings for the ruler on the side are done in vinyl and the big numbers are actually house numbers from Lowes.

The picture frames I got unfinished from Micheals.  It would have been pretty easy to make my own but I really wanted glass so it was just more convenient to buy.

The process was pretty simple.


I started out with a 6ft long board.  I measured up 6" and that is where I put my 1 foot mark.  (So I will hang it 6" off the ground once I know where it is going) and figured out the spacing of my frames.  It worked well to make a paper template.  Then I used a jig saw to cut out holes for the frames.  You just want the holes big enough that you can get to the backs of the frames, but that the cuts are covered by the frames.  I used wood glue and nails to tack the frames down.  And then finish however you want!  I painted my frames and stained the body.


Anyway.... that's it!  I may have to repaint the blue frames a little lighter blue once I get the fabric in there but I'm excited to see how it looks in the actual space once its done.


And I'm super excited to fill those frames with cute little baby faces!

Thanks for reading!


Tuesday, August 14, 2012

GROWING...with Craft Goodies


Happy Tuesday everybody! Hope it's off to a great start.
It's Wendy here today to share my version of this month's fun with you.
I loved this theme as soon as Candace and Nicole shared it with us. I'm in the middle of finishing up my girl's playroom (we just moved) and thought a growth chart would be a fun touch . Then reality hit me, and I knew that I wouldn't use it properly--I am that mom that started baby #1 scrapbook, got through the first 9 months and then just started putting all the pictures into a Rubbermaid to "get to later". Well, baby #1 is now 13 and has 4 more sisters and "later" is still a long way away!
Terrible I know, but it's who I am.
I still wanted something big and fun, and it does have the potential to actually function as a proper growth chart (if I remember to do it!)...


I am totally into typography these days so opted to cut the word "GROW" from 1/2 inch particle board. I found the font I wanted online, printed it out, and then used an overhead projector to get the size I wanted. Traced, cut, sanded, and painted and then nailed them to the wall!
The parenthesis (or big mustache--ask my 6 yr old) is 1 inch pine and will serve as my marking board, maybe.
 I played around with adding numbers, but just didn't like it.
It did get one little extra though...

Make my heart melt! I LOVE this little guy!
He is a combo of 1/2 inch and1/4 inch MDF and has made his home in the bottom of the "O".
I plan on adding a strip of measuring tape to his beak but haven't made it to the store yet.

But, marked or not I am thrilled with how this came out and the pop of color it adds to the room!
Thanks ladies for yet another great theme, my home is a bit homier because of it.
Can't wait to see what Melinda and Krystal share, have a great week!

Happy crafting.

Monday, August 13, 2012

Crafty Sisters - Growth Charts


Hello! It's Candace and Nicole from Crafty Sisters!

We are happy to be able to pick this month's wyltc? theme, Growth Charts!  We have wanted to make growth charts for our kids for a long time.  They grow up so fast!


We were inspired by growth charts made by Petite Lemon and Ferm Living.
Our kids are animal lovers and these are perfect.

First we had Home Depot slice up a piece of 1/2 inch mdf, 12 inches wide and 42 inches long.
To create the pennant, we cut with a jigsaw a notch about 2 1/2 inches up from the bottom.
We also glued in grommets into drilled holes to create the official pennant look.


Nicole and her daughter picked what they thought would be my boys' favorite animals and cut the shapes out on 1/8 inch mdf.  They are so cute and the boys love them! We had fun naming all the creatures as we mod podged the papers on.

The majority of the paper we used is from the "Sweet Day" line by Echo Park.


We added a "grow" paper pennant to the top.  This would also be cute with your child's name, but since I have multiple boys, this will do.  We drew the numbers and lines on with a paint pen.


Nicole's daughter is a serious animal lover and especially fond of owls.  (They have owl boxes in their back yard and regularly spot visiting owls. )


Nicole cut and papered an adorable owl along with her daughter's name to go on her growth chart.
She used a cricut to cut the numbers and lines for the ruler along the side.   A vinyl ruler would also be a great option.
We are so happy with how they turned out and we especially love the smaller size.

Stay tuned for Wendy, Krystal, and Melinda's version of Growth Charts, we can't wait to see what they come up with!