


I know I am doing a woodland theme in there and I'm keeping the current wall color. The only thing I have bought for the room is this adorable owl clock.

Isn't he cute!? I have also order a sample of this cute fabric to use somewhere in the bedding...

I love it and can't wait to see it in person! It's called "Wonderland in Blue" from the Fox Hollow line by Monaluna. The whole line is adorable!
Anyway... you can kinda see where I'm going in there and my idea for his growth chart was something rustic that could also display pictures. Here is what I came up with.

Obviously it will hang on the wall and the white squares will be filled with pictures. I'm thinking I will start out by filling it with baby pictures and then updating them as he grows so that eventually the pictures will show the progression of his growth. Fun!
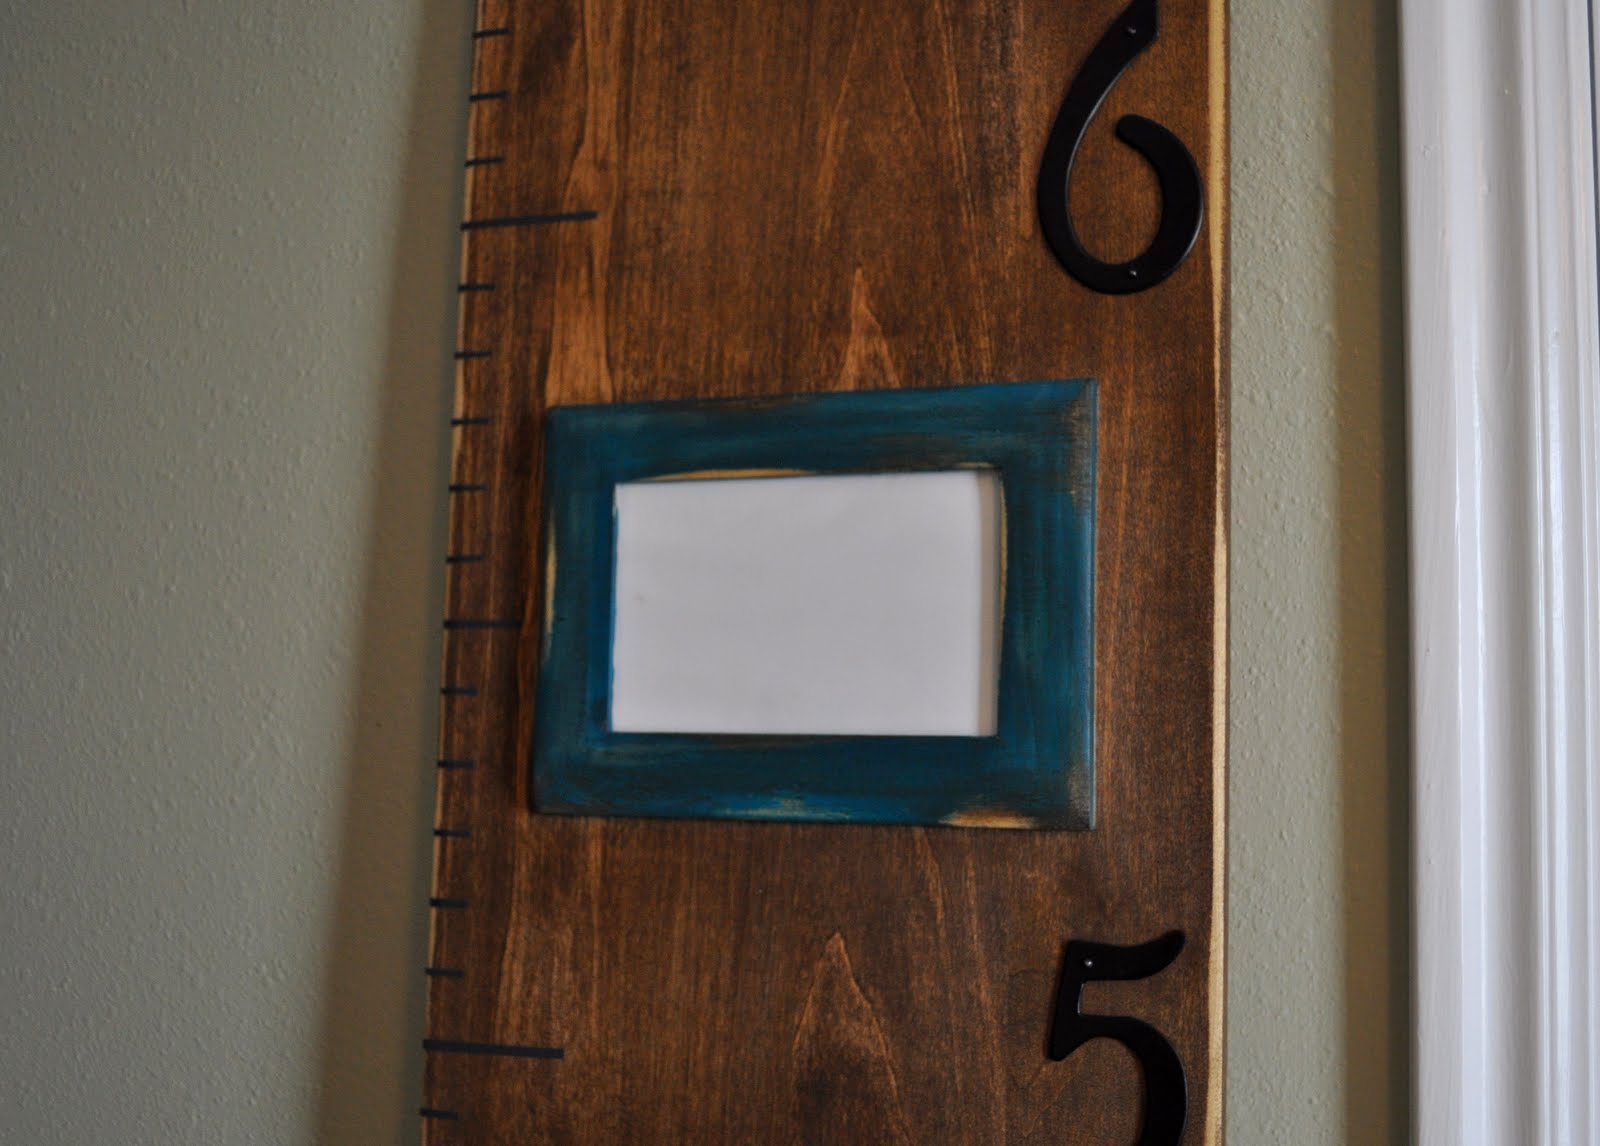
The markings for the ruler on the side are done in vinyl and the big numbers are actually house numbers from Lowes.
The picture frames I got unfinished from Micheals. It would have been pretty easy to make my own but I really wanted glass so it was just more convenient to buy.
The process was pretty simple.

I started out with a 6ft long board. I measured up 6" and that is where I put my 1 foot mark. (So I will hang it 6" off the ground once I know where it is going) and figured out the spacing of my frames. It worked well to make a paper template. Then I used a jig saw to cut out holes for the frames. You just want the holes big enough that you can get to the backs of the frames, but that the cuts are covered by the frames. I used wood glue and nails to tack the frames down. And then finish however you want! I painted my frames and stained the body.
Anyway.... that's it! I may have to repaint the blue frames a little lighter blue once I get the fabric in there but I'm excited to see how it looks in the actual space once its done.
Thanks for reading!

2 comments:
Love the frames and what a clever idea to use house numbers. Nice job! The baby's room will be so cute when you are done! -Candace
What a cute idea! I love the theme of the room and that fabric is adorable! Great job :)
Post a Comment