Wednesday, December 11, 2013

Nativity~Crafty Sisters


Merry Christmas from Crafty Sisters!
We too love Nativities and love making them!
We were so excited to make our version of Melinda's adorable pattern!
Thanks for sharing it with us Melinda!

A couple of weeks ago one of my friends brought in her oh so cute and very very tiny Nativity to church.
It must have been made from clay or something~all I know is that it was cute, teeny tiny and I envied it.
Is that bad to envy a Nativity?  Especially at church?  Probably~so I decided to cure my envy
with my version of Melinda's set.

I shrunk it down using Picasa so the sheets printed the pattern out at 4x6" size picture size sheets.
My little girl thought I was nuts to do it that small when she saw the pattern pieces....
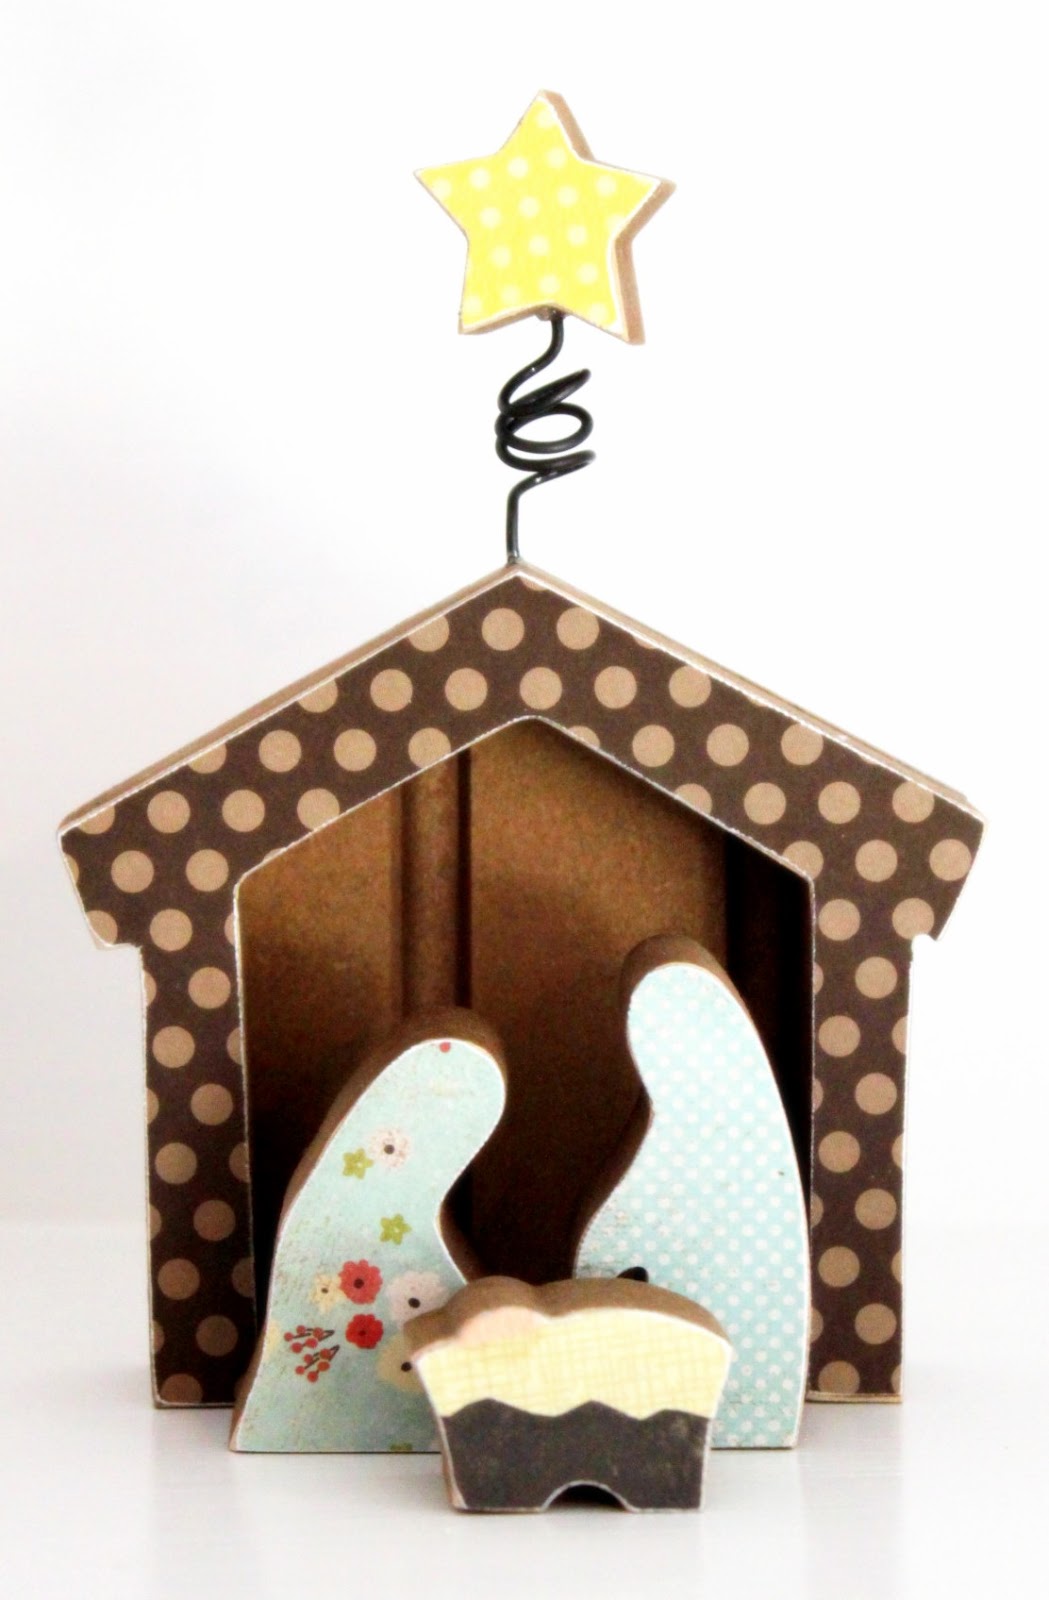
but when I brought them in she squealed with delight over the cute shapes come alive in wood.  I cut everything out of 3/4" MDF.  The angel I propped up with a dowel and a random wood piece from Hobby Lobby and wired on the star.
I used my scroll saw to cut them out, using very tiny thin blades~like the thickness of pencil lead.
They will cut that fine detail~like in the Wisemen's head pieces and sheep's curly wool.  To me, it's the tiny details like that, that make something beautiful.  I put a quarter in the picture so you can see size comparison.  Fun right?

This was a perfect pattern to use up all my paper scraps!  After giving them a base coat of Americana Burnt Umber I Modge Podged on my paper and sanded away the edges for a nice clean look.
I love it!  I'm so excited for my daughter to come home and see it all ready.  She's in charge of arranging the Nativities at our house, a job I gave up long ago because seeing her be more excited about the baby Jesus than the presents under the tree~well that's what Christmas is all about!

Tuesday, December 10, 2013

Nativity- Sassy Sanctuary

Hello crafters!  Krystal from Sassy Sanctuary here.  I'm so excited about this month.  I LOVE nativities.  Slightly obsessed with them actually so I was super excited to make one. I was also super excited when Melinda asked us all to do a knock off of her cute pattern.  I love taking one project and seeing how different they turn out!

So anyway, without father ado... here is my nativity.


I love it!

I have to admit I had a hard time trying to decide how to make it my own.  My first instinct was to scrapbook paper them (because I LOVE me some scrapbook paper) but in the end I couldnt get away from the silhouette look. And I LOVED how Melinda had sanded hers is certain places to give them some character.


I'm kinda in love with this little lamb!

So in the end I decided to make mine on a board.  I love how it stays together and can be easiely moved around, but has way more depth then a sign would have.

Here is how I did it.


First off, you need some wood.  I got all my peices at Lowes.  The board and the bottom peice are all 1/2" and the board to cut the nativity out of is 1/4".

Then you need to get a copy of Melinda pattern.  You can find it HERE.  I had to scale it down a bit to fit my board, but then you just transfer it your wood and cut it out.

Once its cut, you can glue (I used wood glue) the bottom board to the main board and then arrange all the pieces.  (Don't glue down the nativity yet though) You may have to put some scrap wood on the back of a few pieces to keep them in the foreground.

Then paint everything.  I used white paint with a stain over treatment on my nativity pieces and used teal for the board. 

I also decided to glitter my star.  LOVE it!  (Oh, and the star I bought at Micheal's. The star I tried to cut out looked awful! Apparently I can cut a camel but a star is too hard for me... go figure!)


Now you can glue that nativity in place!  I used hot glue for this part.

And last you add the text.  I used vinyl to create a stencil and paint, but you could just use vinyl letters too.

And thats it!


Its a super cute addition to my (faux) mantle display and I had a ton of fun creating it!


Thanks for the inspiration Melinda!


Monday, December 9, 2013

Nativity Set from Under My Umbrella

 It's the most wonderful time of the year to be crafting!  Merry Christmas!  December is one of my favorite months because it seems there are so many wonderful things to see and taste but most of all we get to focus on the birth of our Savior.  I thought it would be fun to use a pattern of a nativity set I came up with a few years back.  Here is an example of one unfinished....


It's always amazing what different people can create with the same base project.  I emailed the ladies of WYLTC and they all responded they were up for the challenge.  I'm so excited to see what they come up with!   The first nativity set I painted up looked like this...


This time I knew I wanted to do something different.  I chose to do a lighter color and add a little burlap and jute.  I really should stop taking pictures with my phone!  It's become a slight addiction.  I don't even know where my camera is anymore.   I keep trying to decide which one I like better and have decided I like them both for different reasons.


If you tilt your head slightly the picture will look straight ;)


I always seem to have a kid story with every craft I make.  This one has to do with my oldest.  She is a teenager (gasp!!).  She typically doesn't have much to do with my crafting but she did this time and had an important lesson to share.  First a little back info....   My teenager is a funny girl.  She is quick, witty and has something funny to say about most things.  For example, after seeing this family photo, she titled it "The day my parents told me I'm adopted."

She isn't adopted but I now laugh every time I see this picture and love it even more.  It didn't make our Christmas card but it has earned a place in our home.  

Back to the craft project.  In the middle of taking pictures I decided the donkey should move.  I placed him and took a picture.  My cute teenager was standing behind me and made the comment that I should title that picture "Don't be the donkey of the family."


After she said it I decided it was a good lesson!  The donkey is the only piece not focusing on the Savior.  She was right.  It important to remember the reason for the season.   Wisdom from a 15 year old sometimes comes in a funny form!

Stay tuned for the next few days to see what the ladies of WYLTC do with this nativity set.  Be ready to be amazed...I am!!!  Happy Holidays!

Friday, November 15, 2013

Candlestick Pilgrims- Sassy Sanctuary

Hello WYLTC readers!  Krystal from Sassy Sanctuary here today.  Hasn't this week been fun?!  I've loved all the turkeys so much and totally want one of each!  But I'm here to actually break the mold and share a set of pilgrims to go with all those turkeys. :)

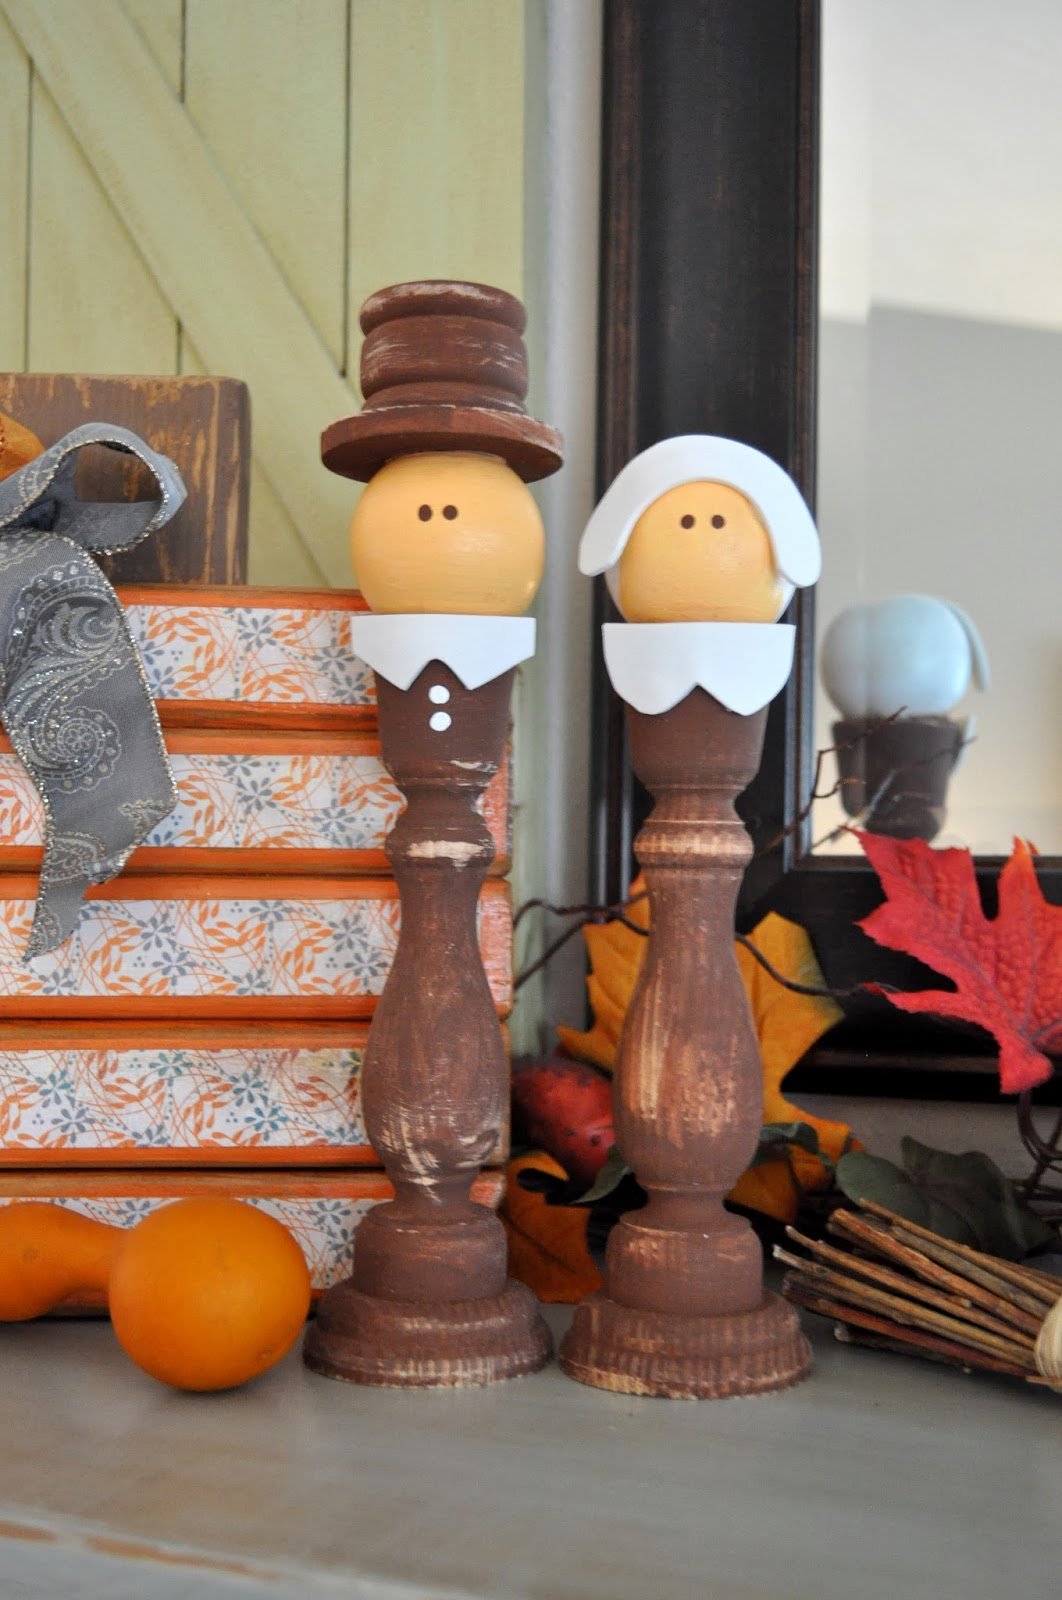
So, do you guys remember the candlestick rabbits we all made waaaaay back in the beginning of WYLTC?  Well, I've really loved my rabbits so I decided to take a spin on those and make some candlestick pilgrims.  They turned out pretty cute and were SO easy!  (Easy is a requirement for me lately.)


All the supplies were purchased at Micheals.  From the wood section you will need two candle sticks, two doll heads, a round disk, and a napkin ring.  Then grab some paint and a sheet of white craft foam.


First thing you need to do is get rid of the gold thing that holds the candle.  I just used a butter knife and bent it all down inside the candlestick.


Then you can hot glue all the pieces together.  In hind sight, I would have painted everything and then glued it all together, but you can do it either way.


Once they are all painted you can cut and glue on little collars and a brim for the bonnet out of the craft foam.  They look something like this.


And that's it.  I think I had them both done in under an hour.


They sure make a cute addition to my Thanksgiving display!


I sure hope you all enjoyed this weeks crafty inspriation and I wish you all a very happy Thanksgiving holiday!!

Thanks for reading!


Thursday, November 14, 2013

Crafty Sisters Turkey

 Hello from Crafty Sisters!
We were so glad for this month's Thanksgiving/Turkey theme!
I've had this turkey mostly cut out for about 4 years now, just laying in my shed, begging to be put together.
Isn't he cute!
 About 5 years ago I saw his doppelganger over at my friends house, a purchase from a bazaar some 10 years before, and I knew I needed one too.
This turkey is just shy of 3 feet tall.  The original had boots with socks but I tend to love those silly big feet instead.  Everything is cut from 1" pine except for his hat brim and beak which are 1/4" MDF and the feet are from 2" pine.  I used 5/16" size dowel for the legs because the little 1" balls from Hobby Lobby fit perfect on them for "knees".:)

I cut the back feathers in slimmer pieces because the wood is cheaper that way and I knew the seam would be covered.
After locating all my parts and cutting out new "missing" parts I ran all the edges down my table sander for a fun chunky look.  You can do this with a dremel but it takes way longer.  If you really love woodworking or are ready to get serious about having fun with it I completely recommend getting a table top sander.  They are about $100 but once you figure how much time you waste with little hand held sanders....you'll realize it is the best money you've ever spent!
First you'll need to give everything a good coat of paint.  I always water my paint down so it gives it more of a "stain" appearance then thick goopy paint.  You can always add more layers of paint~it's really hard to take it away.
The body I painted Americana Light Buttermilk.
The back leaves were Americana Napa Red, with a second coat of the Napa Red mixed with a bit of Burnt Umber till I go the effect I liked.
The hat was Ebony Black and the feet were Burnt Orange~which is probably my favorite orange paint color ever!
Using a toothbrush and some watered down black paint, I speckled all the pieces.
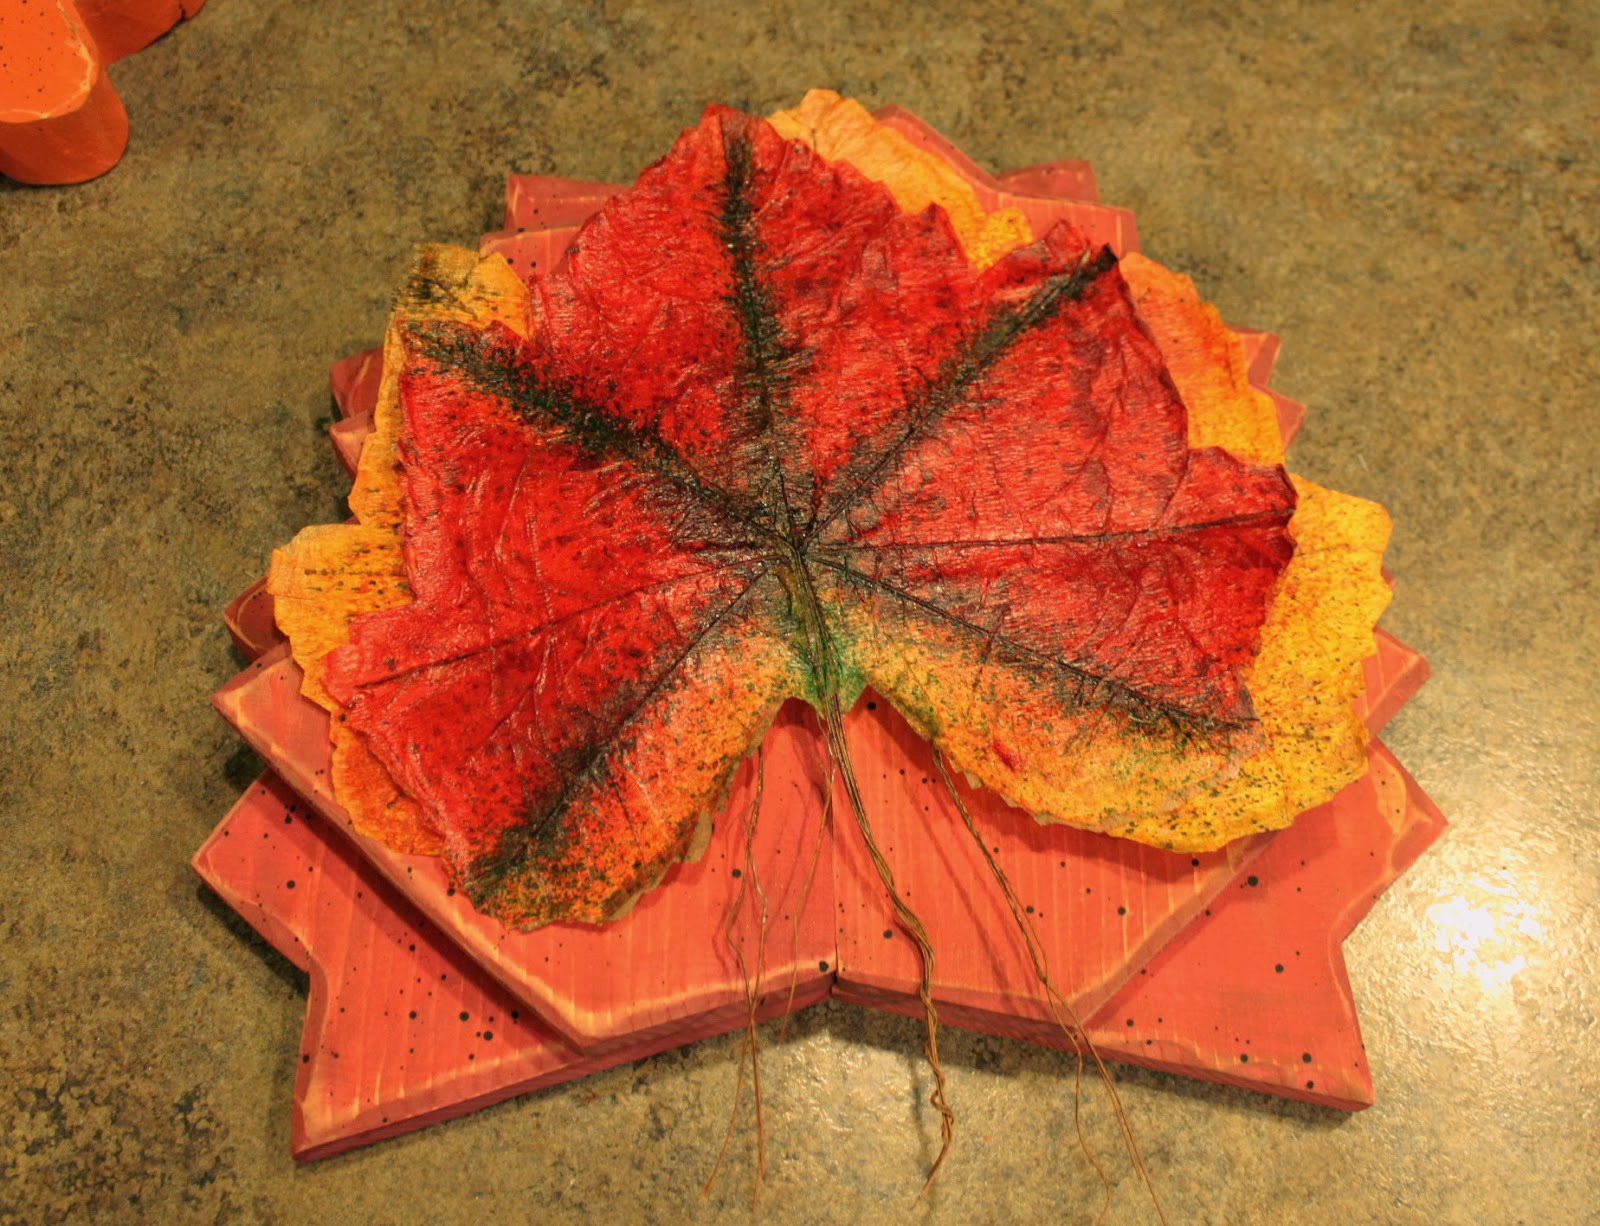
The original bird had lots of little leaves for feathers but guess what~due to over commercialization in the market place of Christmas, you can't find any small leaves....anywhere.  The gal at Hobby Lobby suggested I but a $99 swag to rip apart for the leaves.  Yes, fantastic solution was all I could think.  They did have 2 sets of these giant leaves that worked fine.  Yes, I'm a bit sarcastic this morning.....

Once you're paint is dry, go over all the edges with a hand sander to distress them a bit.
I follow the sanding with a bit of watered down Burnt Umber paint on an old wash rag.  Light enough to distress, easy with the rag to control how much goes on.  
Remember.....a little goes a long way.  You want it distressed, not grungy.  If you go grungy~next year you'll want to through that dirty turkey away.
While you wait for the paint to dry get working on the bloomers.
These are what made me fall for this turkey in the first place, they are so fun!
First attach the dowels to the feet~don't connect to the body or else you can't get the bloomers on.
Cut 2 of the same huge rectangles of desired height and width then snip up the middle to create some legs.
I used my glue gun to put these together~no sewing!
 Then with a needle and thread I did a very loose stitch around the waist and legs to gather them up.
Using your glue gun you can adhere them in place around the waist.
Don't forget to stuff them!  I used plastic grocery store bags.  Why you ask?
I have tons, they stay puffed and why not?

Using other scraps of fabric you can add ties to his waist, legs and a little collar with a bow for his next and hat.  I had a few buckles left over from my witch shoes that I used for his hat.

Now you can attach the the back feathers with a little glue and a few screws to hold them all tight.
Here is my plea.....make sure you do a quick coat of paint on the back.  Nobody likes an unfinished bird.  He will be destined for a life up against a wall.  Just like the Geico girls....
"Don't do it Kimber......don't forget to paint the back of your bird!"  All that hair....and you know they left the back flat and lifeless.
These obviously are my favorite commercials right now~thanks Geico!
Pretty simple project and he's so cute!  Now to make the matching Pilgrims....
Happy Thanksgiving from Crafty Sisters!

Wednesday, November 13, 2013

Under My Umbrella Turkey Fun!

Hooray for Thanksgiving decor!  I'm always a fan of a holiday where eating is the big event.  My main thought this month was making a turkey something type of craft.  The other thought in my mind was I have all those coffee filters from last month's Halloween craft and what great turkey feathers they could make.  All those thoughts combined formed my craft idea for this month....A coffee filter Turkey!


I grabbed some scrap MDF and cut out a turkey body shape, beak and feet. I used the pattern I made a while back.  You can find it HERE.  I then hot glued coffee filers onto my turkey's body.  Easy but time consuming!


Then grab a bunch of burlap, lace and extra fabric.  Whatever I happened to have at the time in my stash was used :)   I hot glued them the strips on a board I cut shaped like a rainbow for his tail feathers.  Again...easy but time consuming.  My kids decided to go and get the flu this weekend so I was home bound.  Nothing better to do when at home than craft an adorable little turkey!  My kids love to play with his feet hanging down!  


The family just put in their vote for his sign to say "eat ham" instead of "Happy Thanksgiving".   Everyone is a crafting expert here and love to voice opinions!  They also feel he should have eyes.  I like him just the way he is!


Happy Turkey Day!

Tuesday, November 12, 2013

Turkey Time from Craft Goodies!

Hi there happy crafters! And happy November to you all.
Can you believe we're already half way through the month, where does the time go? Life has been super crazy busy here at the Craft Goodies household but that doesn't mean we can't find a little time for a fun WYLTC project.
I got to pick the theme this month so as an avid lover of all things holiday, I went with "Thanksgiving Décor". And this little cutie is what came from it...
Sorry for the phone picture...once again, the camera is missing!
I wanted a fun turkey to add to my entry table. I found a great piece of clipart and went from there. I drew out the pattern for the turkey. Cut the body and feet from 3/4 inch MDF, the feathers, head and beak from 1/4 inch MDF. His skinny little legs are 3/4 inch dowels.
I painted each piece and then beveled the edges with the band saw. I love this look--kind of chippy and layered.
He looked great on his own, but the pumpkins put me over the moon!
 
They too are 3/4 inch MDF so they are good and sturdy. I followed the same process, drew out the patterns, painted, and then hit the band saw. {I did run a piece of sand paper over the edges to remove a few stubborn pieces of sawdust.} Then just glued them together, added a little raffia and BOOM! My little pumpkin patch was done.


My entry way is so much more fun and festive now. And most important, my kiddos think it's pretty cool--it's always nice when my toughest critics are well pleased!
And speaking of pleased, I'm pleased to remind you that the other WYLTC ladies will be sharing their Thanksgiving Décor pieces with you through out the rest of the week so stay tuned for some sure to be inspiring ideas cause these ladies are AWESOME!

Until then, happy Crafting to you all-