Showing posts with label crafting with kids. Show all posts

Thursday, June 12, 2014

crafty sisters summer garden stakes

It's still Thursday somewhere right?
In my mad rush to head out of town to a Lacrosse tournament,  I was barely able to get my pictures uploaded to post for this month's summer project!  I even forgot to upload my original wood cuts for a full tutorial.  Sorry!

OK...to get to the point of my project...I love summer!  I love love love being out in my yard in the heat but most of all I love gardening!  There is honestly nothing more I enjoy then digging in the dirt.  So my daughter and I made some quick and easy garden stakes made from a fence board.
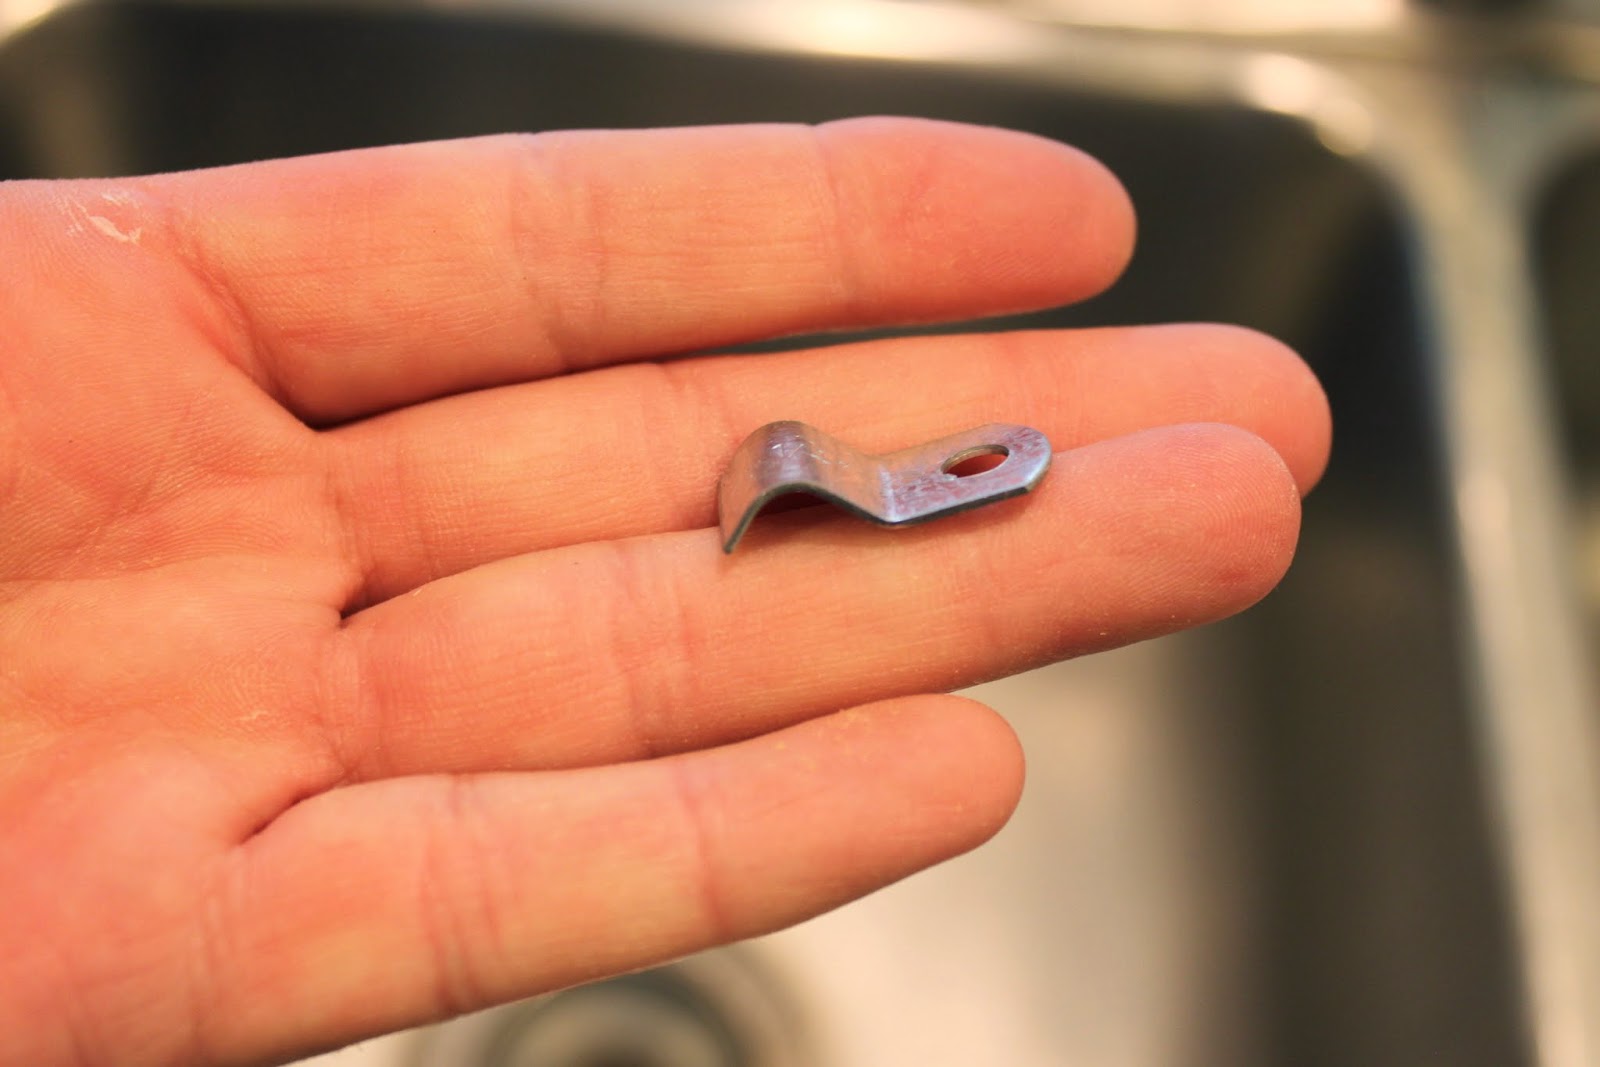
We cut our cat heads into various squares and rectangles about 8 and 9" high, did a few rough cuts to add some ears and sanded down the rough edges.  For the noses we used left over pieces of wood lathe which was the purrrrrfect width.....sorry I couldn't resist that one!
I found these cool little screw on caps in the electrical department that I used to hold my stake in place.  I used my miter saw to cut different lengths of metal stake that was 1/4" in size.  Watch out when you do this cuz sparks will fly!
We used acrylic craft paint to customize replicas of our own kitties, nailed on the noses, sanded off the edges for a little pop and then sealed with a couple of coats of polyurethane to protect them from the elements.

Super easy and a fun project you can do easily in an hour with your kids!  
I see some more to be made in our future.....ducks....squirrels.....options unlimited!
Happy Summer from Crafty Sisters!!
Phoebe, Fluffy, Callie & Morris.  Four very spoiled kitties!

Tuesday, March 5, 2013

Crafty Sisters Easter Bunny Countdown

Easter Greetings from Crafty Sisters!
We are sure excited about Krystal's theme this month, especially since we love the scripture egg countdown.
Last year we made about 20 egg kits up for my Activity Day Church girls and although they look
cute in the egg carton we've always wanted a better way to really display them.
We cut them out of 1/2" MDF, making sure to cut the sides and bottom using a miter saw for straight sides and bottoms~so they'd stand up and we could hinge them together.
Yes, I said hinge!  We got these cute little hinges at Hobby Lobby and fastened them on accordion style
so that when they stand up they'll have some extra structure and cuteness of course!

We did a quick coat of white spray paint~note to self~make sure it's warmer so the paint doesn't glop.
I seem to need a refresher on this point every year...and I remember it about a year later when I glop my paint again.....
We then took plastic Easter eggs and using velcro dots, attached them to the belly of each bunny.  Then we just glue gunned on a cute little matching bow.
These work great for displaying the 12 scripture eggs but you could also put little treats in them too.  Our kids would be happy to have a count down calendar every month if we let them!
Thanks Krystal for the great inspiration piece!  Can't wait to see what Wendy and Melinda do!


Thursday, September 6, 2012

Woodland Baby Mobile- Sassy Sanctuary

Hello everyone! Krystal from Sassy Sanctuary here today to share my take on this month's "crafting with/for kids" theme. With a baby on the way I had use this as an excuse to cross off another thing from my nursery to-do list. So I went more with the crafting "for" kids route. Also, I have to confess that while there is a wood element, this is not an entirely wood project. Hope no one minds!

Anyway, if you go on Etsy and search "woodland mobile" you will find a bunch of adorable mobiles with little felt animals.  It took one look and I knew I had to have one for my woodland nursery, but since most range upwards of $70, I also knew I would have to DIY it.


So I went and gathered some felt and embroidery floss, found my favorite little animals from Etsy to shamelessly copy, and set to work.  Here is how it turned out.


I am so happy with it!  I really wish everyone could come over and see it in person since it was really hard to photograph and the pictures just don't do it justice.  But hopefully you get the idea!

We have an "elf house" (which I copied off the fabric I'm using in there)


An Owl...

 A Bear...


A Fox...

A Hedgehog...


And my favorite, the Raccoon.


And now where the wood comes in.  All these little guys needed a place to hang so I made a simple wooden mobile frame.


All you do is take a wooden block, drill holes in the four sides and insert dowels (add some glue to the holes).  I then capped the dowels with dowel caps.  All the supplies were found at Micheal's.  Then just stain or paint however you please.  There are also eye-hooks on the top and bottom of the block to hang from.

So that's it.  My DIY woodland baby mobile.


And just so you don't feel too bad for my kids, let me show you what my 6 year old son did while I sewed.


I cut him squares of felt, armed him with a needle and some thread, showed him how to do a simple whip stitch, and let him go to town.  He spent hours making this little "blanket" and is so proud of it.  And I love how entertained it kept him!  So yeah, no matter what you are crafting on, give your kids some of your scrap supplies and see what they can do.  Their creativity might amaze you!

Thanks for reading!


Wednesday, September 5, 2012

Crafting With Kids Crafty Sisters Style


Hello from Crafty Sisters!

We are always excited for an excuse to do crafts for our kids and with them!
Here's an idea I've wanted to do for a while now!
We thought it would be fun to take one of our favorite shapes and turn it into a 
fun chalkboard and jewelry holder, which was perfect for my daughter!
First we found a fun shape we used from a favorite old poster.
This was perfect since it looks just like our favorite kitty Morris~
My daughter has been begging for a kitty shape for a long time now
and I've been wanting to figure out a cute way for her to store all her own necklaces
so they aren't tangled up in my jewelry box....
so this was our perfect fit!
First I made up my pattern and traced it onto 3/4" MDF.
I cut it out with my jigsaw and scroll saw for the finer details.
I then painted it 3 coats worth of chalkboard paint.  

                                                      
I sanded in between coats lightly with a sanding sponge for a smoother finish.
I added 10 tiny hooks that I had spray painted black by pre-drilling holes first along the tail.
The tail was the perfect place for these hooks!
Then finished it off with a hook on the back for easy hanging.
Now I have the perfect place for reminder notes and a perfect place for her own necklaces!
Thanks for the great inspiration as always!